DAW: What It Is and How to Choose One
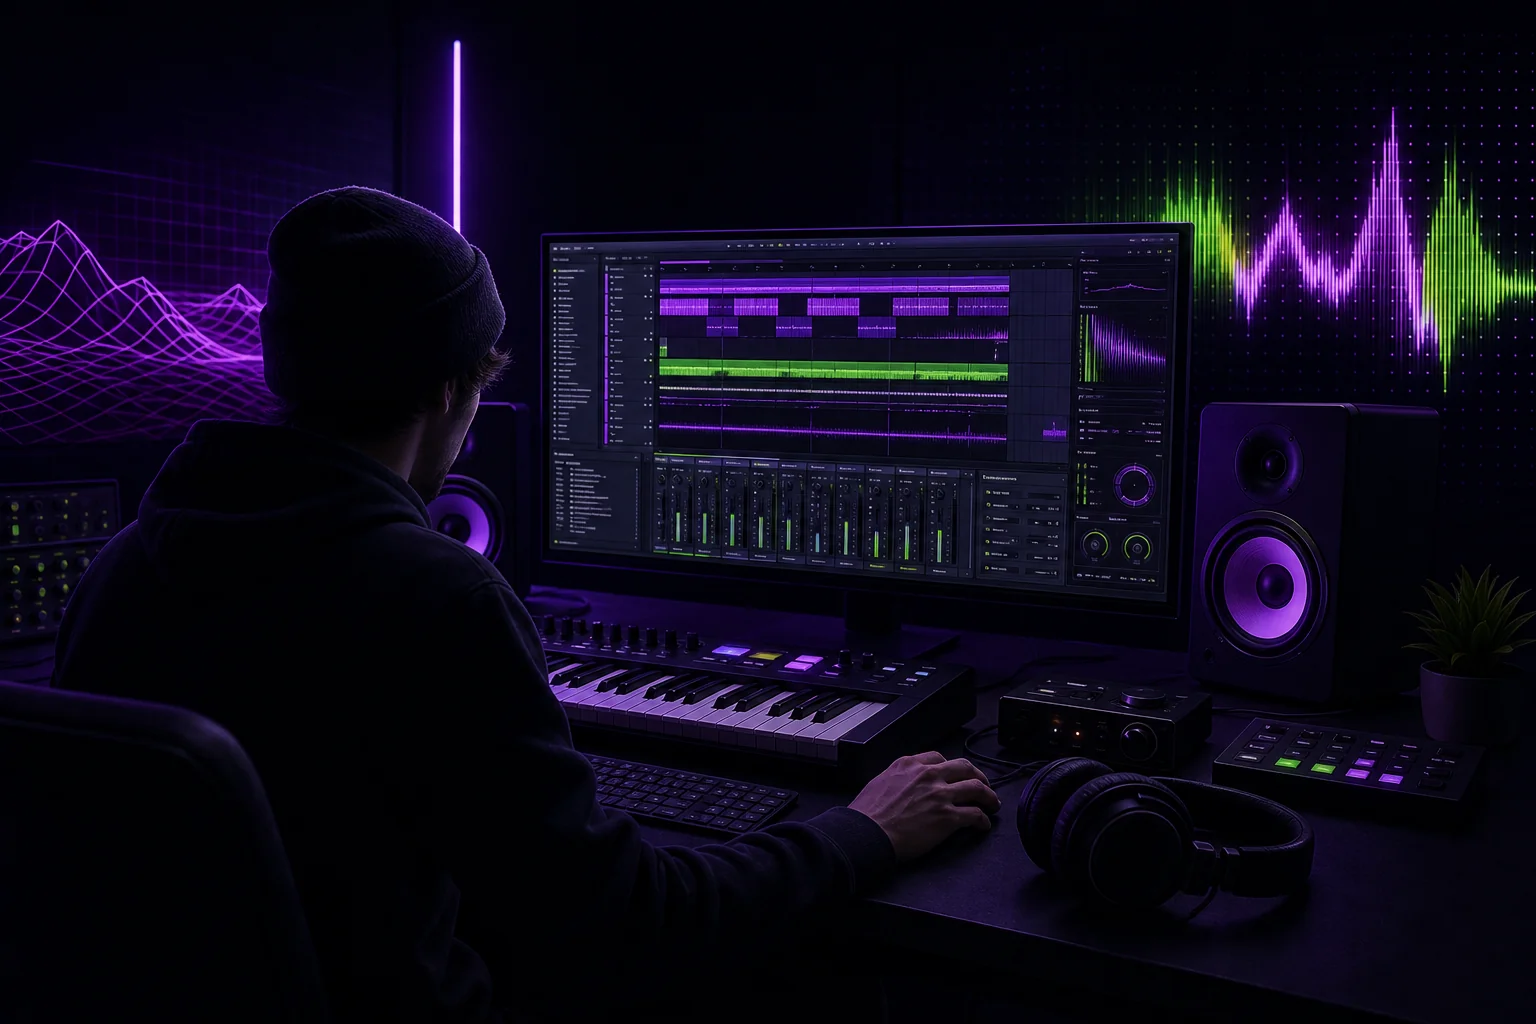
A DAW is where a song becomes a project you can finish. It lets you record performances, arrange sections, edit mistakes, shape the mix, and export the result. The difficult part is not finding options. It is choosing one without comparing endless features you may never use. Start with the work you need to do, then check compatibility, workflow, and cost. That is enough to make a sensible first choice.
What Is a DAW? Start With Its Core Role
DAW stands for digital audio workstation. It is software that runs on your computer and lets you record, edit, arrange, process, and produce audio. It acts as the center of your studio.
Inside a DAW, you build a song from tracks. An audio track might contain a vocal, guitar take, or recorded percussion. A MIDI track contains performance instructions that can trigger a software instrument, such as a virtual drum kit or synthesizer.
A typical project might include:
- A lead vocal recorded through a microphone
- Several guitar takes
- A MIDI drum part
- A software bass instrument
- Effects used to shape individual tracks
- A main output where the complete mix is heard
The timeline provides a visual map of the song. You can move a chorus, shorten an intro, mute an unwanted take, or repeat a drum pattern without recording the entire performance again.
That makes the DAW more than a recorder. It is also your arrangement desk, editing space, mixing console, and export tool. Both Steinberg’s DAW definition and Avid’s overview describe it as software for recording, editing, and producing audio.
The important point is simple: a DAW should help you move from an idea to a finished audio file. Everything else is secondary.
The Five Functions Every Beginner Should Check
Brand names can wait. First, make sure the software covers the work required to finish a song.
Audio and MIDI recording
Audio recording captures a performance from a microphone, instrument, or other connected source. MIDI recording captures notes and performance data used by software instruments.
Suppose you are producing a singer-songwriter demo. You could record the acoustic guitar and vocal as audio, then use MIDI to add a simple software piano part. Your DAW should let you create those tracks, select the correct input, and hear the result during playback.
Arrangement on a timeline
Arrangement is the process of deciding when each musical part appears.
You might start with a guitar loop and a vocal idea. On the timeline, you can turn them into an intro, verse, chorus, and ending. You can copy a section, move it later, or remove it without changing the original recording.
A usable timeline should make the structure easy to see. If basic moves feel buried, completing an arrangement will become slower than it needs to be.
Editing
Editing turns raw takes into a usable performance.
For example, a vocalist records several versions of the chorus. You can select the preferred sections, trim unwanted silence, and place the chosen parts in the arrangement. You can also remove a noisy section or adjust where a clip begins.
You do not need every advanced editing feature on day one. You do need clear tools for selecting, cutting, moving, and organizing recorded material.
Mixing, plugins, and automation
Mixing is the process of making the tracks work together. You balance their levels, position them across the stereo field with panning, and apply processing.
Plugins are software processors or instruments that work inside the DAW. They can shape tone, control dynamics, create space, or generate sounds. Automation lets a parameter change during playback. You might lower a guitar during the verse, then raise it for the chorus.
Imagine a session where the vocal disappears beneath a dense instrumental. A basic mix could involve lowering competing tracks, adjusting their pan positions, and applying suitable processing. The goal is not to use every plugin. It is to make the musical decisions audible.
Exporting a finished audio file
Your session is not the deliverable. The exported audio file is what your bandmate, mixer, or listener can play without opening the DAW.
The export function may be called export, bounce, or mixdown. Whatever the label, you should be able to turn the complete arrangement into one shareable audio file.
These core functions matter more than a long feature list. As MusicRadar’s DAW guide notes, there is no single best DAW for everyone. The right choice depends on your workflow and use case.
Criterion 1: Does the DAW Work With Your Computer?
Compatibility is the first filter. There is no reason to fall in love with a workflow your computer cannot run.
Check three things before comparing creative features:
- Operating system: Is the DAW available for your computer?
- Storage: Do you have room for the application and any sound library you plan to install?
- Hardware compatibility: Will it work with the audio interface, MIDI controller, and other studio hardware you use?
Logic Pro is available only on Mac. Ableton Live works on Windows and Mac. According to MusicRadar, Ableton Live requires 3 GB for the installation, while its optional sound library can exceed 70 GB. It can also work offline after an initial online activation.
That difference between application size and library size matters. A DAW may install successfully while its additional sounds consume much more storage.
Picture a vocalist producing on a laptop with an audio interface and a MIDI keyboard. The practical question is not which DAW has the longest feature list. It is whether the complete setup can record reliably and leave enough room for session files.
Use this online music studio setup checklist to review the rest of your recording chain before committing to software.
Criterion 2: Does Its Workflow Match Your Music?
Now ignore price and beginner tutorials for a moment. Compare only the main task you expect to perform.
MusicRadar describes Ableton Live as particularly suited to electronic music and live performance. Its workflow is less convenient for recording bands or instruments played live. FL Studio is presented as especially well suited to beatmaking. Pro Tools is positioned for bands and as a standard in professional studios.
These are useful starting points, not rules about what music you are allowed to make.
Consider three hypothetical projects:
- Electronic arrangement: You build ideas from MIDI parts, software instruments, and repeated sections, then adapt the material for performance. Ableton Live aligns with that workflow.
- Beat-based project: You begin with drums and build the instrumental around patterns. FL Studio is designed around that kind of process.
- Band session: You record several performers and need to manage many live takes. Pro Tools is positioned for band and studio recording.
Choose according to the work you do most often. Do not pick a DAW because you might someday record an orchestra, design a live set, and produce an album on the same Tuesday.
Your first DAW only needs to support your next real project.
Criterion 3: Is It Easy and Affordable Enough to Keep Using?
The final comparison is about continuity. Can you understand the software, and can you keep using it within your budget?
MusicRadar recommends Logic Pro for beginners because of its intuitive interface and complete software bundle. Remember that it is restricted to Mac. The same source highlights Reaper for its value.
Free options listed by Bedroom Producers Blog include:
- BandLab
- GarageBand
- Cakewalk Sonar
- Waveform Free
- SoundBridge
- Pro Tools Intro
A free option can help you test the basic process before committing to another tool. Create a small project. Record a part. Add a software instrument. Arrange a short song. Make a rough mix. Export it.
Pay attention to friction. Could you find the recording controls? Did editing make sense? Could you return to the project without relearning the interface? Those observations are more useful than comparing features in isolation.
Also consider the people around you. If you regularly exchange work with a producer or mixer, ask what they need from you. You do not necessarily need identical software, but you do need a workable handoff. The guide to music production software for teams explains how collaboration changes the decision.
A Beginner’s DAW Workflow: Record, Arrange, Mix, Export
Once you have chosen a DAW, finish one small song before adding more tools.
Create and name the project
Give the project a clear name. Save it in a dedicated folder rather than leaving files scattered across downloads, desktop folders, and mystery drives.
If the song has collaborators, agree on the project title before anyone starts sending versions.
Record audio or MIDI
Create the tracks you need. Select the intended input for an audio track or load a software instrument for a MIDI track.
For a simple indie demo, you might record rhythm guitar, lead vocal, and backing vocal as audio. A software instrument can provide the drum part.
Record complete takes when possible. Keep the promising alternatives until you have finished editing.
Edit the takes
Listen before cutting. Choose the strongest performances, trim unwanted material, and place the selected clips cleanly on the timeline.
Do not delete every alternate take immediately. Today’s “bad ending” may contain tomorrow’s useful phrase.
Arrange the song
Mark out the sections and check the overall movement. Ask practical questions:
- Does the intro reach the main idea quickly enough?
- Does the chorus feel different from the verse?
- Is any section repeating without adding something?
- Does the ending sound intentional?
Move sections until the song works as a complete listen.
Build the mix
Start with levels. Then set panning. Add processing only when you can state what problem it should solve.
If a backing vocal distracts from the lead, lower it before browsing effects. If a guitar crowds the center, try a different pan position. Simple balance decisions usually tell you what processing is still needed.
Use automation for changes that should happen during the song. Check transitions between sections and listen through the entire mix without stopping.
Export and review
Export a shareable audio file. Listen outside the session before calling it finished. This catches arrangement mistakes, abrupt edits, and balance decisions that were easy to miss while staring at the timeline.
When another musician needs the complete project, use a repeatable handoff process. This guide to sharing DAW sessions that actually open covers the practical preparation.
Keep version names boring and useful:
- Use the song title.
- Add a clear stage such as demo, edit, or mix.
- Add a version marker.
- Save a new version before major edits.
- Keep the exported file connected to the matching session version.
For deeper organization, see how music version control prevents lost takes. It is much easier than asking, “Which final mix did you send me?” and receiving the deeply reassuring answer, “The newer final.”
Conclusion
A DAW is the central software environment for recording, arranging, editing, mixing, and exporting music. Choose yours in a strict order: confirm that it works with your computer, match its workflow to your main kind of project, then decide whether it is easy and affordable enough to keep using.
After that, stop comparing and finish a song. A completed demo will teach you more about your needs than another ranking.
Your DAW handles the audio work. As sessions, versions, exports, and feedback begin to multiply, a shared project workspace can handle the process around it. That separation keeps creative decisions inside the DAW while giving your team a clearer path from the first take to the approved mix.