Mix Delivery Checklist for Mastering Engineers
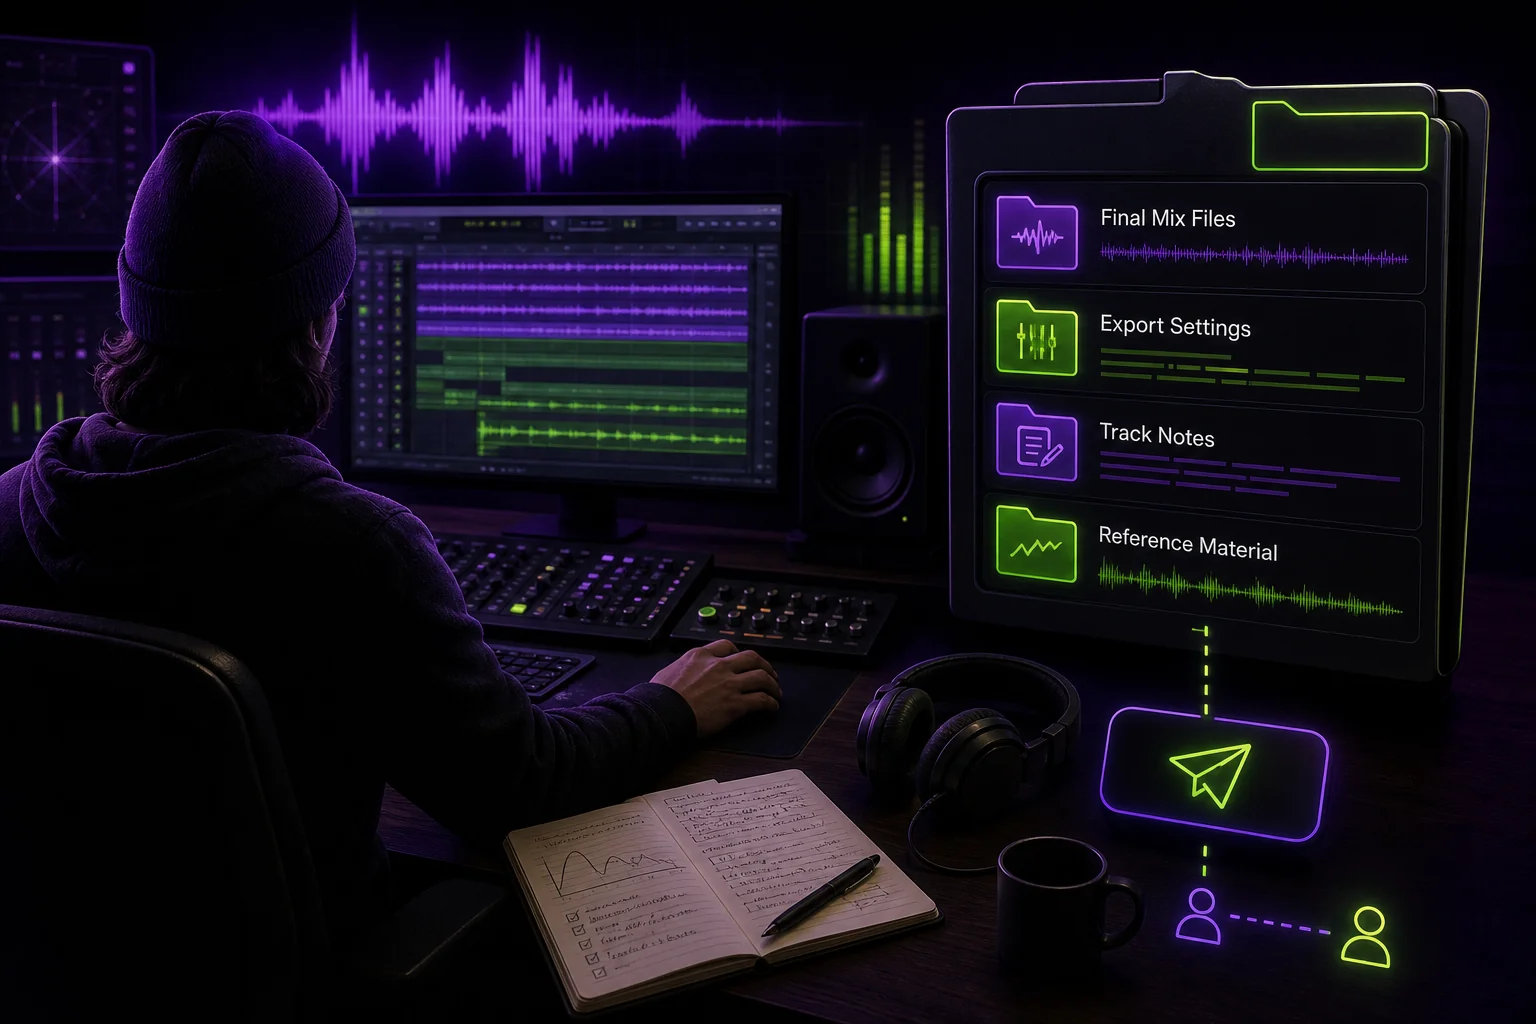
The final mix handoff should not feel like a last-minute file dump. Your mastering engineer needs the approved mix, clear references, useful notes, and confirmed technical requirements. Otherwise, the session can start with a basic question: which version did you send me?
Use this checklist as a pass/fail gate. Mark each item PASS before delivery. If anything is FAIL, fix it or explain it clearly before mastering begins.
1. Start With the Pass/Fail Handoff Rule
A delivery checklist only works when it gives you a clear decision. You are not trying to create more admin. You are trying to stop uncertainty from entering the mastering session.
The search results for “delivery checklist” are a useful reminder of the problem. The first result supplied for this topic is a checklist for ready-mix concrete delivery. It covers routes, site access, trucks, dispatch, washout areas, and jobsite safety—not music mastering. Read the CEMEX delivery checklist.
Your audio version needs the same practical discipline, applied to a different kind of delivery:
- Is this the approved mix?
- Can the engineer identify every file without guessing?
- Are the references labeled by purpose?
- Do the notes explain the artistic target?
- Are the requested formats confirmed?
- Has the file been checked from start to finish?
- Has the engineer confirmed receipt?
If the answer to any question is unclear, mark it FAIL. Do not treat “probably fine” as a delivery status. That is how an old bounce ends up being mastered.
2. Confirm the Approved Final Mix Is the File You Are Sending
The first pass condition is simple: the file you send must be the mix everyone approved.
This sounds obvious. It is not always obvious after a late vocal edit, a small automation change, or a final export from a different DAW session. A producer may have approved a mix in the afternoon and exported a different session at night. The files can sound almost identical while still being different versions.
Before export, confirm the following:
- The artist or project owner has approved a clearly identified mix.
- The song arrangement is locked for mastering.
- The intro begins at the intended point.
- The ending, tail, and fade are correct.
- There are no unintended mutes, edits, clicks, or missing automation moves.
- The vocal, instrumental, and key production elements match the approved version.
- The file is checked from beginning to end after export.
Use a filename that records the project context. For example:
The filename is not the approval itself. Keep the approval message or project status with the file. Your note might say:
Approved mix: Artist_Song_Mix_vFinal_2026-07-17.wav
Approved by: Artist and producer
Approval date: 2026-07-17
Contact: name@example.com
If you routinely lose track of takes and bounces, review this workflow for music version control and clearer file history.
For a remote indie project, this could mean checking that the mastering file includes the final lead vocal comp, the approved bridge edit, and the correct outro. For an electronic track, it may mean confirming that the final arrangement includes the agreed automation and last drop. The genre changes. The handoff rule does not.
3. Label the Mix, References, Stems, and Alternate Versions Clearly
Do not place the approved mix, an instrumental, a clean version, and a reference bounce in a folder called FINAL. That folder name has caused enough trouble already.
Separate files by purpose. Label each one so your mastering engineer can understand it without opening a DAW session.
A practical naming pattern is:
Artist_Song_Mix_vFinal_2026-07-17.wav
Artist_Song_Instrumental_vFinal_2026-07-17.wav
Artist_Song_Clean_vFinal_2026-07-17.wav
Artist_Song_Reference_ArtistTarget.wav
Artist_Song_Reference_LowEnd.wav
Use the label to explain why a file exists:
- Mix: the approved full mix for mastering.
- Instrumental: the approved arrangement without the lead vocal, if requested.
- Clean: an alternate version with the agreed content changes.
- Reference: a listening guide that shows a sound, balance, or direction you want to discuss.
- Stem: an exported group of related tracks, such as drums, vocals, or synths.
Do not present an alternate version as a backup master mix. If it is not the file to master, place it in a clearly named folder such as Alternates or Reference Only.
Where applicable, make references easy to compare with the main mix. Matching start time, sample rate, and duration can make a comparison less confusing. If a reference starts later, contains a different edit, or uses a different version, say so in the delivery notes.
For a band session, you might send the approved full mix plus a live-room reference to explain the desired drum feel. For a producer working with a vocalist, you might include an instrumental to clarify how the vocal should sit without asking the engineer to guess which file is the main delivery.
If your project also includes DAW workfiles or stems, use a structured handoff rather than scattering exports across messages. This guide to sharing complete DAW sessions can help you prepare that material.
4. Add Mastering Notes That Explain the Target, Not Just the Problem
“Make it louder” is not a complete mastering note. It describes a result without explaining the role the result should play in the song.
Your notes should tell the engineer what matters artistically and where you need judgment. Keep them short, but make them specific.
A useful note can include:
- The overall intention of the mix.
- The emotional or sonic direction you want to preserve.
- The elements that must remain prominent.
- Changes you would welcome.
- Changes you do not want.
- Known mix issues that you are already aware of.
- Reference tracks and the specific reason for including them.
- Important vocal, low-end, transient, or stereo priorities.
- Fade, intro, outro, or transition details.
- Any release-related constraints already agreed with your team.
For example:
Target:
Keep the vocal intimate and forward while preserving the dark, wide synths.

Priority:
The kick and bass should feel connected without making the vocal smaller.

Reference:
Reference_LowEnd.wav is included for the weight of the low end, not as a loudness target.

Known issue:
The vocal consonants become sharper in the final chorus. Please check that area carefully.

Do not change:
Please preserve the quiet drop before the last chorus.
Use timestamps when pointing to a moment:
01:42 — The vocal feels too recessed after the second chorus.
02:18 — Please check the low-end balance when the bass pattern changes.
03:05 — Preserve the length of the outro fade.
Timestamped comments give the engineer a location and a reason. They are more useful than “something feels off.” For more examples, see this guide to feedback that producers can actually use.
For a home-studio pop session, your priority may be vocal presence and the final chorus lift. For a club-oriented production, it may be the relationship between kick, sub, and the drop. Your notes should describe the target, not prescribe a blind fix.
5. Agree on Formats, Headroom, and Technical Checks Before Export
Do not assume every mastering engineer wants the same delivery format. Confirm the request directly before you export.
Your format checklist should cover:
- WAV or AIFF, as requested.
- Sample rate.
- Bit depth.
- Mono or stereo layout.
- Interleaved or split files, if relevant.
- Required alternate deliverables.
- Any requested instrumental, clean, performance, or stem versions.
- Whether a reference bounce should be included separately.
Headroom expectations also need direct confirmation. Do not impose a universal headroom number on every project. Ask the mastering engineer what they expect for this mix, then follow that project-specific requirement.
Before sending, check the exported file for:
- Clipping or unexpected peak warnings.
- Unintended limiting.
- Silence at the start or end.
- Clicks, pops, or abrupt edits.
- Incorrect fades.
- The wrong sample rate or bit depth.
- Incorrect dither or export settings.
- A missing channel or incorrect mono/stereo layout.
- A file that does not play correctly outside your DAW.
Listen to the actual exported file, not only the mix inside the session. Import it into a fresh project or open it in a separate player. Check the full song. A bounce can reveal a disabled plugin, a missing automation move, or an export setting you did not notice during the session.
For example, if you are delivering a final mix from Logic, do not rely on the Logic session as proof that the WAV is correct. Open the exported WAV and verify the vocal, the transition into the final chorus, and the outro. If you are delivering from Ableton or Pro Tools, apply the same rule: the exported file is the handoff, so the exported file gets the final listen.
6. Confirm Receipt and Close Every Ambiguity
Uploading a file is not the same as completing a delivery.
Send a clear delivery message that lists the exact files and their purpose:
Subject: Artist — Song — Approved Mix Delivery

Approved mix:
Artist_Song_Mix_vFinal_2026-07-17.wav

Included references:
Artist_Song_Reference_ArtistTarget.wav
Artist_Song_Reference_LowEnd.wav

Alternate deliverable:
Artist_Song_Instrumental_vFinal_2026-07-17.wav

Format:
WAV, stereo, settings confirmed with the mastering engineer

Notes:
The vocal should remain intimate and forward.
Please preserve the quiet drop before the final chorus.
See attached notes for timestamps.

Upload location:
[link]

Please confirm that the approved mix was received and downloaded successfully.
Ask for an explicit acknowledgment. The response should confirm:
- The upload location was accessible.
- The exact approved mix was received.
- The engineer downloaded the intended version.
- The requested formats are understood.
- Any missing files or unclear notes have been identified.
Do not begin mastering while the engineer is unsure whether Mix_vFinal, Mix_vFinal2, or Mix_FINAL_really is the correct file. Pause the handoff and resolve the ambiguity. Your future self will be grateful, or at least less annoyed.
Use this final block before sending:
MIX DELIVERY — PASS / FAIL

[ ] PASS — Approved mix is clearly identified
[ ] PASS — Export was checked from beginning to end
[ ] PASS — Song start, edits, fades, and ending are correct
[ ] PASS — Filename includes artist, song, mix status, and date
[ ] PASS — References are labeled by purpose
[ ] PASS — Alternate versions are separated from the approved mix
[ ] PASS — Mastering notes explain the artistic target
[ ] PASS — Timestamped problem areas are documented
[ ] PASS — Formats were confirmed with the mastering engineer
[ ] PASS — Headroom and peak expectations were confirmed
[ ] PASS — Technical checks are complete
[ ] PASS — Delivery message lists every file
[ ] PASS — Receipt and correct-version confirmation are requested

Delivery status: PASS / FAIL
Conclusion
A clean mastering handoff is a small production task with a large practical payoff. Identify the approved mix. Label every file. Explain the target. Confirm formats and headroom with the engineer. Listen to the exported file. Then get explicit receipt confirmation.
The same logic works across a solo home-studio project, a remote vocal session, and a full team production: the right file should be easy to find, easy to understand, and hard to confuse with an older bounce.
If your handoffs, references, feedback, and project versions are spread across separate messages, a music-focused workspace such as SoundisiaK Studio can give the delivery a clearer home. The point is not to add ceremony. It is to make the final mix unmistakable.