Digital Audio Workstation: From Audio to Final Export
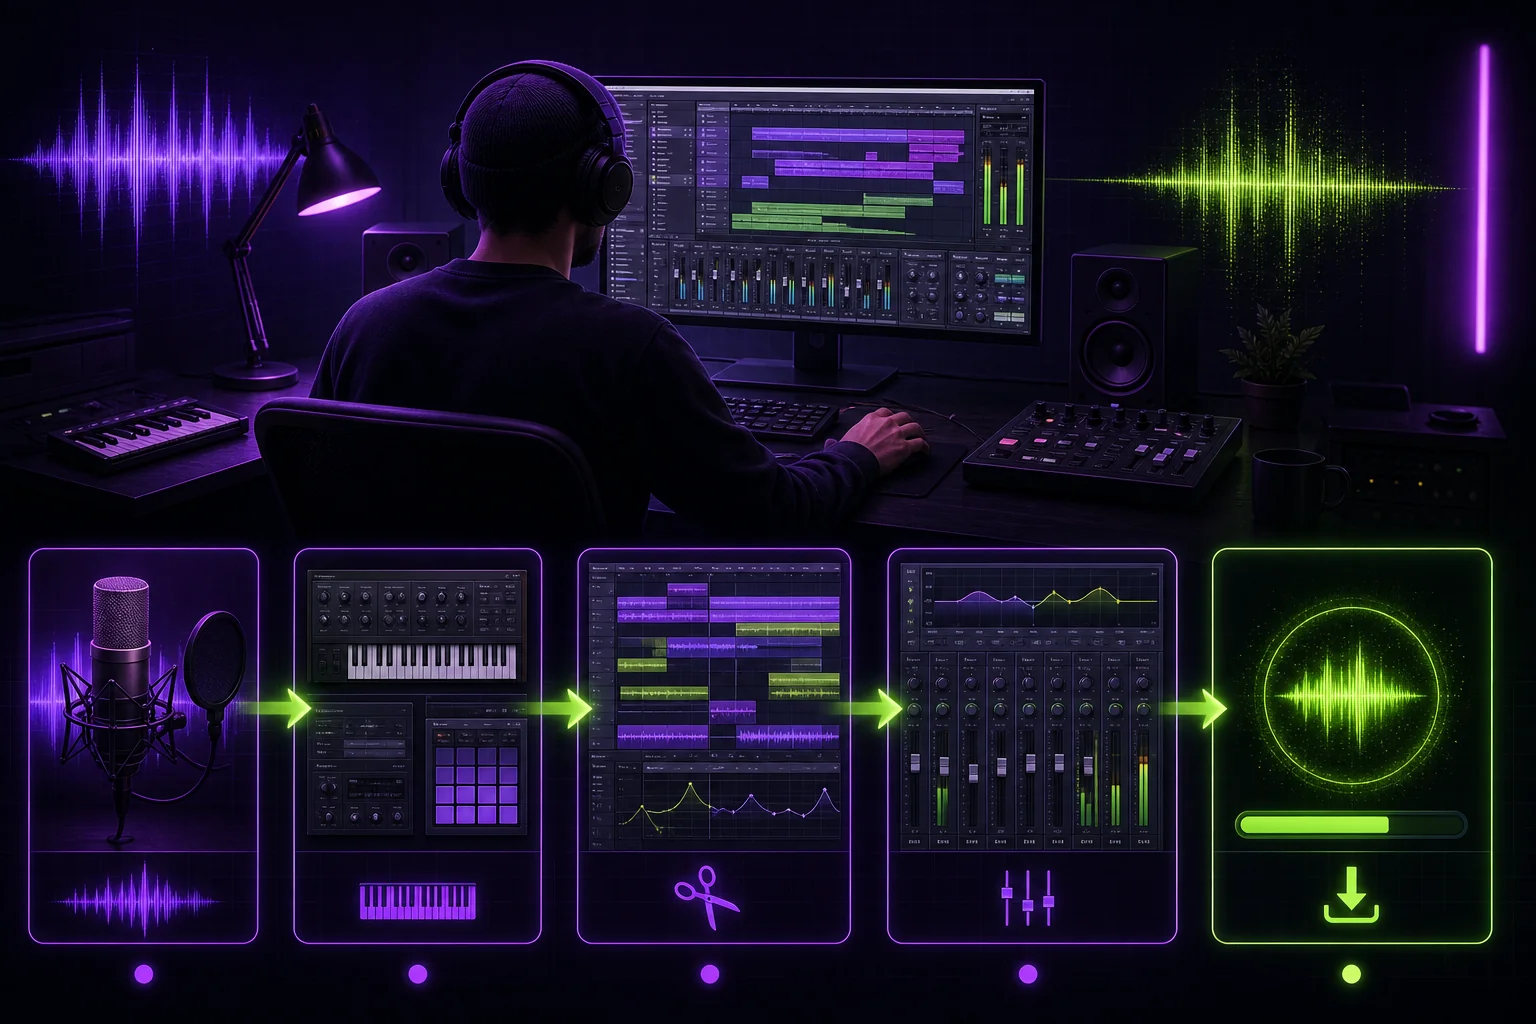
A digital audio workstation can look like a cockpit when you open it for the first time. Tracks, meters, clips, plugins, buses, and buttons everywhere. The basic job is simpler: a DAW gives you one place to capture sounds, shape performances, assemble a song, mix it, and export a file. Here is what that process looks like for one vocal-led track, followed by a practical way to choose the right DAW for your workflow.
What a Digital Audio Workstation Actually Does
A digital audio workstation, usually shortened to DAW, is software for recording, arranging, editing, and processing audio. You can use one to record a live band, build a production with software instruments, or combine both approaches in the same project.
That broad definition covers several distinct jobs:
- Recording: Capturing a microphone, guitar, synthesizer, or other input.
- Importing: Bringing existing audio files into the project.
- Editing: Cutting, moving, cleaning, and combining performances.
- Arranging: Turning separate musical sections into a complete timeline.
- Processing: Using tools such as EQ, compression, reverb, and delay.
- Mixing: Balancing every element into a coherent stereo mix.
- Exporting: Creating a file that can be reviewed, shared, or delivered.
This is why MusicRadar describes a DAW as software for recording, arranging, editing, and processing audio, whether you work with recorded musicians or software instruments.
The DAW handles what happens inside the song. It does not automatically organize feedback, approvals, collaborators, or delivery versions around the song. That distinction becomes important once another person asks, “Which mix did you send me?”
Step 1: Start a Project and Record or Import Audio
Imagine you are producing a vocal-led song with a remote singer. You already have a drum loop. You plan to record the lead vocal and play the bass part through a software instrument.
Start by creating a new DAW project. Save it in a dedicated project folder before recording anything. Give it a clear working title rather than leaving it as “Untitled.”
Next, configure the project:
- Set the song tempo.
- Confirm the project sample rate.
- Select your audio interface.
- Choose the correct microphone input.
- Create a folder for recordings and later exports.
If you are still assembling your recording environment, use this online music studio setup guide to connect the gear and collaboration tools around your DAW.
Now create the tracks.
Record the lead vocal
Add a mono audio track and name it Lead Vocal. Arm the track for recording, check the input level, and make sure the loudest phrases do not clip. Record several complete takes or smaller passes for individual sections.
The resulting regions are recorded audio. Their waveforms represent sound captured through your microphone and interface.
Import the drum loop
Drag the drum file into the DAW timeline. Place it on a new audio track named Drums Loop.
This is an imported audio clip. It behaves like recorded audio once it is inside the session. You can split, move, fade, process, and repeat it. The difference is its origin: it was created outside this recording pass.
Confirm that the loop matches the project tempo and begins on the intended beat. Do not assume the file name is correct. Listen against the metronome.
Add a software instrument
Create a MIDI track and load a bass instrument. MIDI stores performance instructions rather than a recorded waveform. Those instructions trigger the software instrument, which generates the sound during playback.
This gives your project three common DAW elements:
- A microphone performance captured as audio.
- A pre-existing drum loop imported as audio.
- A MIDI part played through a software instrument.
Keep those differences in mind when collaborating. A mixer can open an exported bass audio file without owning your instrument plugin. They may not be able to reproduce the original MIDI track if their system lacks the same software.
Step 2: Edit the Takes and Build the Arrangement
Before editing notes or syllables, make the session readable. Rename every track. Use simple colors to group vocals, drums, instruments, and effects. A clean session makes mistakes easier to spot.
Then edit the vocal takes.
Remove obvious noise before and after each performance. Split clips where needed, but avoid creating cuts without a purpose. Move or trim sections so the vocal enters where intended. Add short fades at edit boundaries to prevent clicks.
If you recorded several takes, comp the lead vocal. Comping means selecting the strongest phrases from multiple performances and combining them into one main track. For example:
- Use the first take for the verse.
- Choose a more controlled line from another take before the chorus.
- Keep the final sustained note from the pass with the cleanest ending.
Listen through every transition. A technically clean edit can still sound unnatural if the singer’s tone or room sound changes abruptly.
Now build the song on the timeline. Place the verse, chorus, bridge, and outro in their intended order. Extend or duplicate the drum loop where necessary. Record or edit the bass part to support each section.
Arrangement is more than copying sections. It decides when elements enter, leave, or change. You might remove the bass at the start of the verse, bring it back for the chorus, and leave more space beneath the bridge vocal.
Save a new project version before making structural changes. Clear version names are less glamorous than plugins, but much better at recovering yesterday’s chorus. For a repeatable system, see this guide to music version control.
Step 3: Mix the Song Inside the DAW
Mixing begins with balance, not with opening every plugin you own.
First, lower the track levels and build a basic balance. Set the lead vocal against the drums, then bring in the bass and supporting parts. Check the DAW’s meters as you work. If a track or the stereo output is clipping, reduce the relevant gain or level instead of treating the red meter as decoration.
Once the static balance works, refine the mix.
Pan complementary parts
Keep essential low-frequency and lead elements where they support the mix. Pan complementary parts when separation helps. If you have backing vocals or additional textures, placing them away from the same central position can create room around the lead.
Use EQ to reduce masking
EQ changes the balance of frequencies. Use it to address overlap between parts rather than making every track sound impressive in solo.
If the vocal and an instrument compete in the same area, adjust the part causing the conflict. Make small decisions while listening to the complete mix.
Control dynamics with compression
Compression reduces the difference between louder and quieter moments according to the settings you choose. On the lead vocal, it can help maintain a steadier position in the mix.
Do not use it as a substitute for editing or automation. If one word disappears while the rest of the take is balanced, a targeted level move may be cleaner than heavier compression across the entire performance.
Add depth with reverb and delay
Reverb creates a sense of space. Delay repeats a signal after it plays. Use them to place the vocal and instruments within a shared environment.
Check these effects in context. Too much processing can push the lead away from the listener or blur the words.
Automate the vocal
Automation lets a parameter change over time. Use volume automation to raise a quiet phrase, control an exposed breath, or keep the vocal present when the arrangement becomes denser.
Finish by playing the song from beginning to end at a sensible monitoring level. Watch for clipping, sudden balance changes, noisy edits, and effects that accumulate across sections. Bypass processing occasionally. If removing a plugin improves the mix, the plugin has just given you useful feedback.
Step 4: Export, Check, and Deliver the Finished File
When the mix is ready, create a stereo bounce or export from the DAW. Use WAV for production delivery. Create a compressed listening copy when a smaller review file is appropriate.
Before exporting, check:
- The intended start and end points.
- The selected sample rate and bit depth.
- The stereo output and peak levels.
- Whether any track is muted or soloed by mistake.
- Whether automation and effect tails play through the ending.
- The destination folder.
- The file name.
Use a name that identifies the song and mix version. Avoid relying on final, followed later by final-final, followed by the inevitable final-use-this-one.
After export, close or minimize the DAW and play the file in a separate audio player. Listen to the beginning, the transitions, and the full ending. This confirms that you are reviewing the exported file rather than the live session.
If the mix is going to a mastering engineer, run it through the complete mix delivery checklist. Keep the DAW project, production export, listening copy, references, and notes clearly separated.
How to Choose the Right Digital Audio Workstation
There is no single workflow shared by every DAW. According to MusicRadar’s DAW recommendations, the best fit depends partly on the musician and the type of music being produced.
Its use-case guidance provides a useful starting point:
- Ableton Live: A strong option for electronic production and live performance. MusicRadar notes that its workflow is less suited to recording traditional bands and played instruments.
- Pro Tools: Recommended for more traditional production roles and band recording.
- Logic Pro: Recommended for beginners because of its intuitive interface and included software collection. It is available only on Mac.
Treat those as starting points, not automatic answers. Run each candidate through this checklist:
- Operating system: Does it support your computer?
- Main recording method: Will you record a band, capture vocals, program electronic parts, or combine them?
- Workflow: Does the timeline and editing approach make sense to you?
- Budget: Can you sustain the required purchase or license model?
- Offline use: Can you keep working when an internet connection is unavailable?
- Included tools: Does it provide the instruments and effects you need?
- Computer performance: Can your machine handle the software and content library?
- Collaboration: Does your producer, artist, or mixer use the same DAW, or will you exchange audio files?
Specifications vary by product. For example, MusicRadar lists Ableton Live as compatible with Windows and Mac, with a 3 GB installation and a sound library that can exceed 70 GB. It requires a single online activation and can then operate offline. Those details should not be treated as universal DAW requirements.
Download or access a trial when one is available. Rebuild a small real project. Import drums, record a vocal, add an instrument, make an edit, and export a mix. The right DAW is the one that lets you complete that sequence without fighting the interface at every step.
From Session to Shared Project
A DAW takes your song from raw material to a finished audio file. The basic path stays clear: record or import, edit, arrange, mix, export, and verify.
Once collaborators enter the picture, the DAW becomes one part of a wider system. Your session still needs organized versions, review notes, secure files, and clear delivery status. A shared music workspace can hold that process around the DAW, while the DAW remains where you make the detailed audio decisions.