Archive Music Projects: A Finished Song Checklist
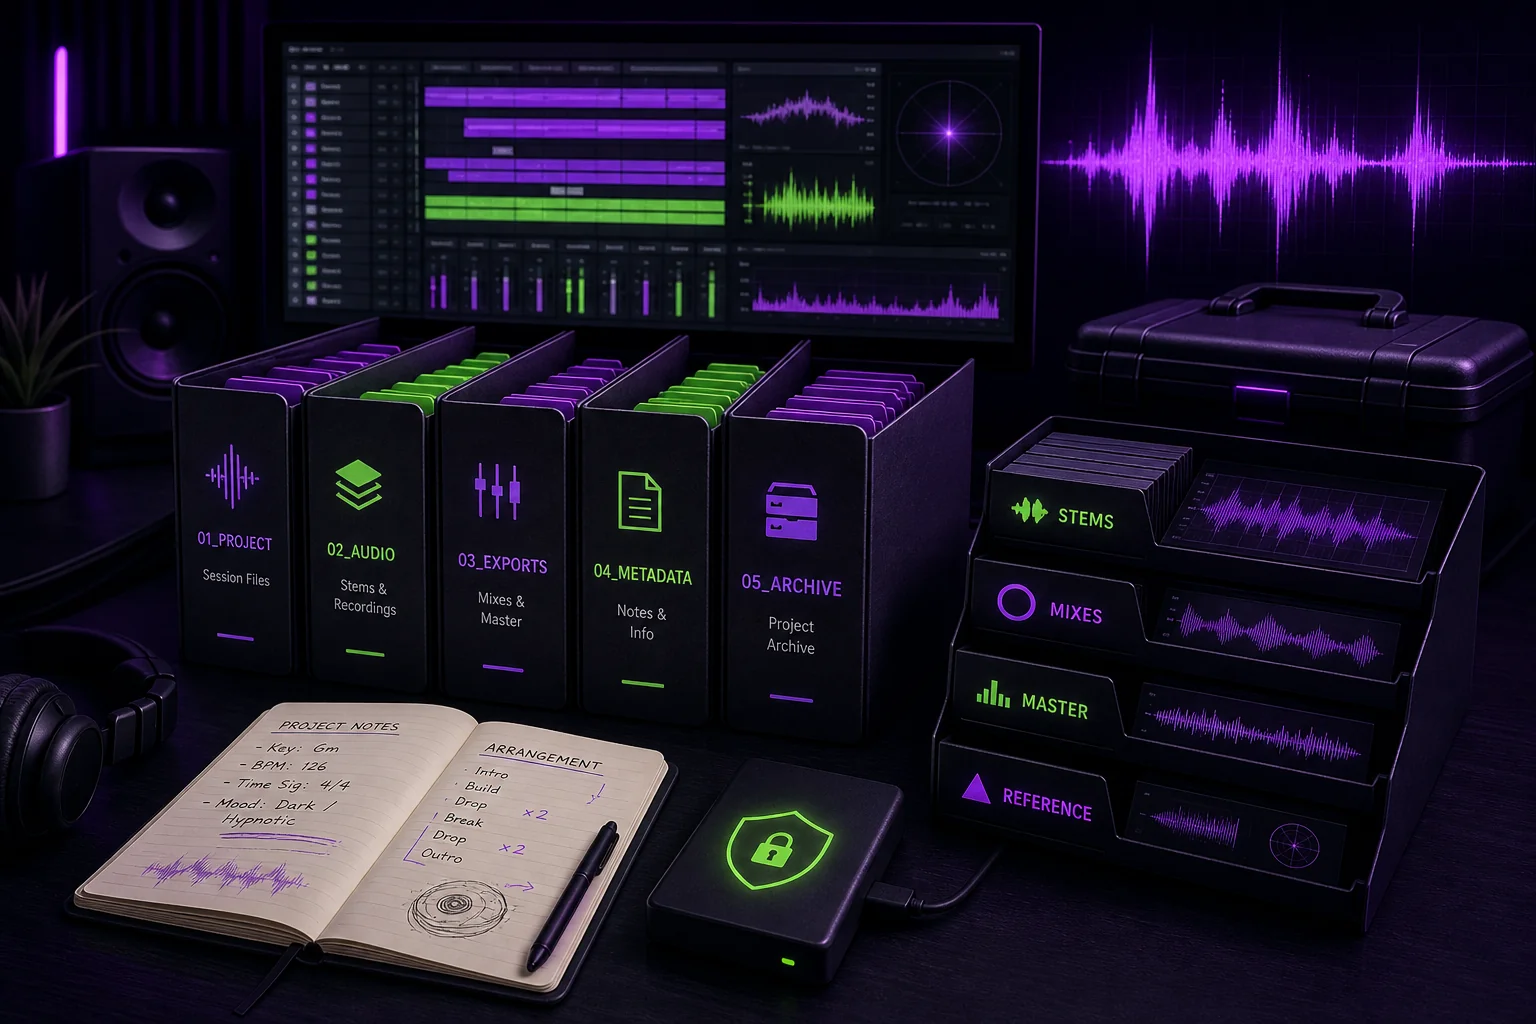
A finished song can become unusable surprisingly fast. The master survives, but the session references a missing drive. A vocal preset disappears. Nobody remembers which instrumental was approved. To archive music projects properly, preserve both the deliverables and everything needed to understand, edit, and verify them. Use this checklist before moving a completed song out of active storage.
1. Clarify What “Archive Music Projects” Means (and Set the Finish Line)
Archiving your own project is not the same as publishing music in a public archive. For example, Free Music Archive provides access to independent music that people can listen to, download, and share for free. Your finished-song archive has a different purpose: preserving a private production so you can retrieve or reopen it later.
Start by defining what “finished” means for the song.
Create an archive record containing:
- Song title and artist name
- Approved version name
- Archive date
- DAW and session version
- Sample rate and bit depth
- Release or delivery status
- Person who approved the final version
- Location of the verified archive copies
- Date of the most recent restore test
For a hypothetical song called “Night Signal,” the finish line might be: the artist approved the master, the instrumental and clean versions were delivered, credits were confirmed, and no mix revisions remain open.
Do not archive a project merely because nobody has touched it lately. “Inactive” is not the same as “finished.”
Set a deletion rule as well. The working folder may leave active storage only after the archive has been packaged, copied, and restored successfully. Until then, it is still a working project.
2. Freeze the Final Master, Mix, Stems, and Source Audio
Create a folder named 01_FINAL_DELIVERY. This is the fast-access part of the archive. Someone should be able to retrieve the approved audio without opening the DAW.
Include the deliverables that apply to the project:
- Approved full-resolution master
- Approved mix before mastering
- Listening reference
- Instrumental
- Acapella
- Clean version
- Performance or backing-track version
- Any other approved alternate mix
Use names that describe the file without requiring detective work:
NightSignal_Master_24bit_48kHz_vFINAL.wav
NightSignal_MixPreMaster_24bit_48kHz_vFINAL.wav
NightSignal_Instrumental_24bit_48kHz_vFINAL.wav
NightSignal_Acapella_24bit_48kHz_vFINAL.wav
The format details above are an example. Record the actual settings used by your project. Do not convert files simply to make their names match a template.
If the song may need a remix, alternate edit, sync version, or future mix revision, preserve stems. Stems are grouped audio exports such as drums, bass, guitars, keys, lead vocals, and backing vocals. They are different from multitracks, which contain the individual recorded or programmed tracks.
Make every stem start at the same timeline position. Record its sample rate, bit depth, tempo, and key in the manifest. Before filing it, import the complete stem set into a blank session and confirm that it reconstructs the intended balance.
If you are unsure which format a future collaborator will need, use the practical distinctions in Stems vs Multitracks: What to Send. For the pre-master and related delivery files, follow the mix delivery checklist for mastering engineers.
Keep the original recordings when future edits could depend on them. That might include vocal takes, live drums, edited guitars, tuning alternatives, or printed MIDI instruments. Storage is easier to replace than a vocalist’s unavailable Tuesday afternoon.
3. Make the DAW Session Reopenable Without Guesswork
Place the completed session in 02_DAW_SESSION. Do not drag only the DAW project file into this folder and assume the job is done. A session can still point to audio, samples, or impulse responses elsewhere on your computer.
Save an archive copy from the DAW. Use its collect, copy, consolidate, or equivalent command to bring project media into the archive. Then inspect the resulting folder.
Include:
- Main DAW session file
- Any required session package
- Recorded and edited audio
- Tempo information
- Markers and arrangement notes
- Track names and routing
- Automation
- Frozen tracks where useful
- Bounced versions of dependent instruments
- Printed versions of important effects chains
- MIDI files when they may help future editing
Add a plain-text compatibility note:
DAW: [name and version]
Operating system: [name and version]
Session sample rate: [actual value]
Last successful open: [date]
Known missing elements: [none, or list]
Next, document external dependencies. List plugin names and versions, virtual instruments, presets, sample-library names, sample paths, impulse responses, and other licensed assets.
Do not assume a plugin will remain installed forever. For an important synth or processed vocal, consider preserving both the editable track and a rendered audio version. The render protects the sound. The original track preserves editability if the required tools are available.
You should not copy licensed software or restricted library content into the archive unless your license permits it. Instead, record the exact dependency and where an authorized user can obtain or access it.
4. Add Production Notes, Credits, Metadata, and Permissions
Create a root README or manifest. This document explains the archive to your future self, your mixer, or another authorized collaborator.
Include:
- Song and artist names
- Writers and producers
- Recording, mix, and mastering engineers
- Musicians and vocalists
- Available catalog or release identifiers
- Version history
- Final production decisions
- Known technical issues
- Release status
- Contact or agreement references
- Location of important rights documents
A useful note is specific:
The approved master uses the final lead-vocal edit. The earlier vocal comp remains in the session but is disabled. The instrumental removes all lead and backing vocals. The printed synth track matches the approved mix.
“Final one, probably” is less helpful.
Put rights and contributor material in 04_CREDITS_RIGHTS. Depending on the project, that may include:
- Split sheets
- Contributor approvals
- Vocal permissions
- Sample and loop licenses
- Session-musician confirmations
- Plugin or library license notes
- References to collaborator agreements
- Approved credit spelling
- Sharing or reuse restrictions
Record what authorized collaborators may release, edit, reuse, or share. Access to a project file does not explain how its contents may be used.
For remote teams, apply least-privilege access: each person receives only the material and permissions needed for their role. The music project permissions matrix provides a practical structure for vocalists, producers, and mix engineers.
Remove expired share links and unnecessary collaborator access when the project closes. Keep the archive private unless there is a clear reason to share it.
5. Package, Name, and Back Up the Archive as a Separate Record
Use a predictable root name:
A practical folder structure is:
Artist_Song_FINAL_2026-07-31/
├── 01_FINAL_DELIVERY/
├── 02_DAW_SESSION/
├── 03_AUDIO_SOURCE/
├── 04_CREDITS_RIGHTS/
├── 05_NOTES/
└── 06_CHECKSUMS/
The prefixes keep folders in a stable order. Inside them, use descriptive names. Avoid chains such as final-final-new-USETHIS2.wav. If you need to revise a supposedly final file, record the change in the manifest and create an unambiguous replacement.
The manifest should list each archived file along with its size, date, and checksum. A checksum is a generated value used to check whether a file has changed or become corrupted. Store checksum output in 06_CHECKSUMS.
Treat the finished archive as a separate record, not as another version inside the live session folder. Your working backups protect ongoing edits. The archive preserves the approved end state.
Follow the linked 3-2-1 music project backup workflow when placing the archive across separate storage locations. If you use online storage, evaluate session recovery, version history, security, and large audio-file handling rather than treating every sync service as interchangeable. The guide to cloud storage for musicians covers those decisions in a session-focused context.
Do not let synchronization replace verification. A damaged or incomplete folder can sync perfectly. That merely distributes the problem efficiently.
6. Test-Restore the Song Before Removing It From Active Storage
An archive is not complete because the copy operation finished. Test it from a clean location that does not have access to the original working folder.
Run this restore checklist:
- Copy the archive to a separate location or computer.
- Verify the stored checksums.
- Open the archived DAW session.
- Confirm that recorded media is linked.
- Check for missing samples and impulse responses.
- Review plugin and instrument availability.
- Play the song from start to finish.
- Inspect automation, edits, and routing.
- Open the stems in a blank session.
- Confirm that notes, credits, and rights files are readable.
- Render a short section from the restored session.
- Compare that render with the corresponding approved master section.
If the session silently finds files on your original drive, the test is invalid. Disconnect or unmount that location before reopening the archive.
Document the result in the manifest:
Restore test date: [date]
Test location: [device or storage location]
Session opened: [yes/no]
Missing media: [none, or list]
Render comparison: [pass/fail with note]
Tested by: [name]
Fix every failure, update the archive, regenerate the relevant checksums, and repeat the restore. Only then should you remove the completed project from active storage.
Conclusion
A useful music project archive contains more than a master WAV. It preserves final deliveries, stems, source audio, a self-contained DAW session, external dependency notes, credits, permissions, and enough context to understand the song later.
The final gate is a real restore. If the session opens cleanly and the approved audio can be reconstructed without the working folder, the archive has done its job.
A centralized project workspace can make this handoff easier by keeping versions, feedback, files, and decisions attached to the song throughout production. When archive day arrives, you are packaging an organized record—not excavating one from old links and messages.